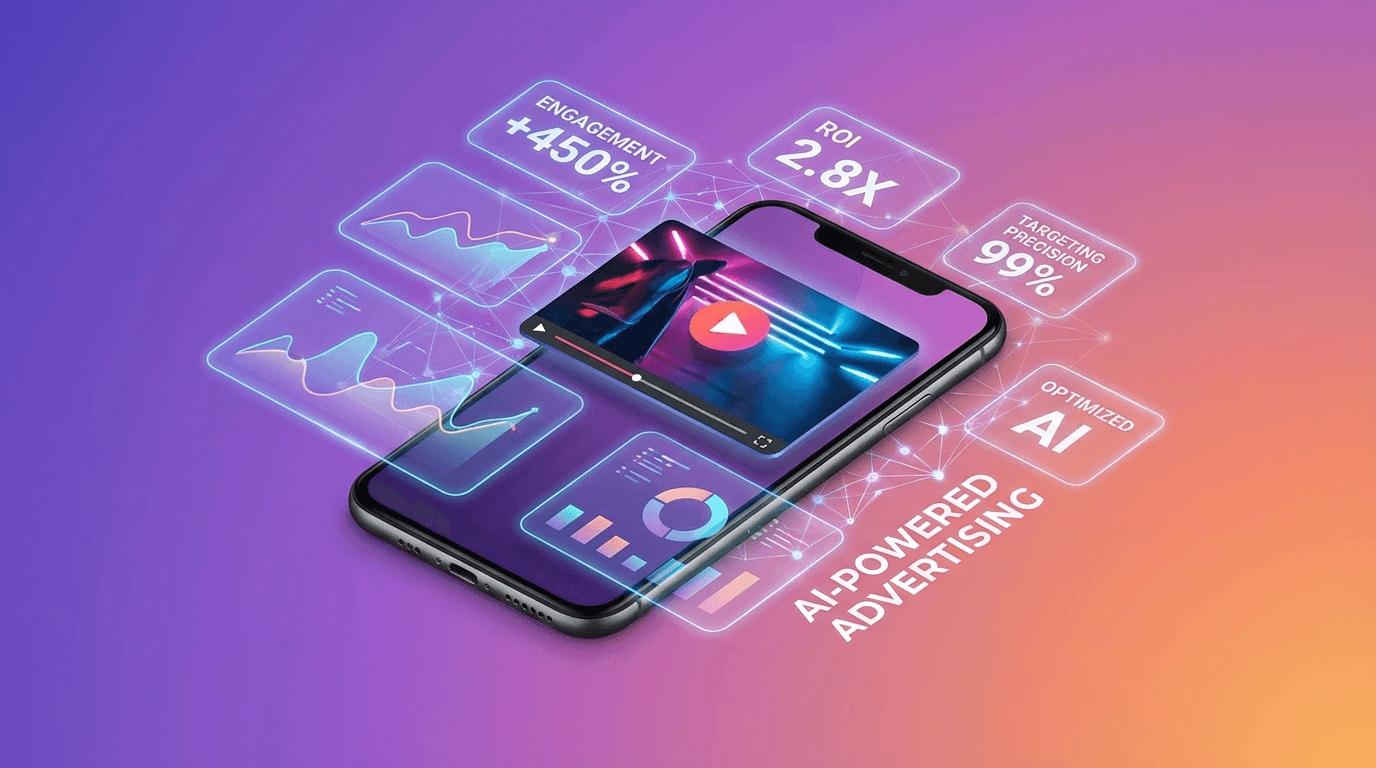
Image-to-video AI is the fastest-growing category in AI content creation right now, and for good reason. You take a single photo, feed it to an AI model, and get back a video clip with realistic motion, camera movement, and physics. No filming, no After Effects, no animation skills required.
I've been using image-to-video AI tools daily for the past few months, testing every major model as they launch. This guide covers everything: how the technology works, which models produce the best results, and a step-by-step walkthrough so you can start turning your own photos into videos today.
What Is Image-to-Video AI?
Image-to-video AI takes a still image as input and generates a short video clip (typically 3-10 seconds) where the scene comes to life. The AI analyzes what's in the image, understands the depth and composition, then predicts how things should move.
You can also add a text prompt to guide the motion. For example, if you upload a photo of a person standing on a cliff, you might prompt "wind blows through their hair, waves crash below, slow camera push-in." The AI combines your image with your instructions to produce the final clip.
This is different from text-to-video, where you describe a scene from scratch. Image-to-video gives you much more control because you start with an exact composition. The AI preserves your image's style, colors, and layout while adding motion on top.
How Image-to-Video AI Works (The Short Version)
Without going full research paper on you: modern image-to-video models use diffusion transformers. They're trained on millions of video clips to learn how the world moves. When you give them an image, they:
- Encode the image into a latent representation (a compressed version the model understands)
- Predict future frames based on learned motion patterns, your text prompt, and the image content
- Decode the frames back into pixel space to produce your final video
The magic is in step 2. The best models understand physics (water flows downhill, hair blows in wind direction, shadows move with light) and can generate motion that looks natural. Cheaper models tend to produce warping artifacts or weird morphing effects.
How to Turn an Image Into a Video (Step by Step)
Here's the actual workflow I use. I'll walk through it using Flashloop's video generator, which gives you access to multiple image-to-video models in one place.
Step 1: Prepare Your Image
Not every image works well for video generation. The best source images are:
- High resolution (at least 1024x1024). Low-res images produce blurry video.
- Clear subjects with defined edges. Cluttered scenes confuse the model.
- Good lighting. Well-lit images give the AI more information to work with.
- Natural compositions. The AI handles realistic photos and illustrations equally well, but extreme abstract art can produce unpredictable results.
You can use a photo from your camera roll, a screenshot, an AI-generated image, or even a product shot. If you need to generate the starting image first, Flashloop's image generator lets you create one and immediately send it to the video generator without downloading and re-uploading.
Step 2: Upload and Choose Your Model
On Flashloop's video page, upload your image and select an image-to-video model. Different models have different strengths (I break these down in detail below), but here's a quick guide:
- Kling 2.6 - Great all-rounder, good motion quality, fast generation
- Seedance 1.5 Pro - Best for character animation and dance/movement
- Wan 2.1 - Strong on realistic scenes, good physics
- Veo 3 - Highest quality output, but slower
Step 3: Write Your Motion Prompt
The prompt tells the AI what motion to add to your image. This is where most people mess up. A few rules:
- Describe motion, not the scene. The AI already sees your image. Don't re-describe what's in it. Instead, tell it what should move and how.
- Be specific about camera movement. "Slow dolly push-in" is better than "camera moves forward."
- Include environmental motion. Wind, water, clouds, lighting shifts, particles. These details make clips feel alive.
- Keep it concise. 2-3 sentences is the sweet spot. Overly long prompts can confuse the model.
Example prompt for a landscape photo:
Gentle wind sways the grass and tree branches. Clouds drift slowly across the sky. Soft camera push-in toward the mountains. Warm golden hour lighting shifts subtly.Step 4: Generate and Iterate
Hit generate and wait. Most models take 30-120 seconds depending on the clip length and resolution. Review the result and iterate:
- If the motion is too subtle, add more specific action words ("sweeping," "dramatic," "fast")
- If there are artifacts, try a different model or simplify your prompt
- If the subject warps, make sure your source image has clear, well-defined edges
- Generate 2-3 variations and pick the best one. AI video is still somewhat stochastic, so the same prompt can produce different results.
Best AI Models for Image to Video
I've tested every major image-to-video model available. Here's how they compare for different use cases. All of these are available on Flashloop, so you can switch between them without juggling multiple accounts.
Kling 2.6 / 3.0
Kling has been my go-to for general image-to-video work. Version 2.6 offers a great balance of speed and quality, with particularly good character consistency. The motion control feature lets you draw paths for how objects should move, which is incredibly useful for precise animations. Kling 3.0 (their latest) pushes quality even further with smoother motion and better physics.
Best for: Character animation, social media content, product videos, anything where you need reliable consistent results.
Seedance 1.5 Pro
Seedance specializes in human and character motion. If your image features people or humanoid characters and you want natural-looking movement (walking, dancing, gesturing), Seedance handles it better than most. It's particularly good at preserving facial features during motion.
Best for: Dance videos, character-driven content, fashion/beauty content, social media where human motion matters.
Wan 2.1
Wan produces some of the most realistic-looking output, especially for nature scenes, architecture, and environmental shots. The physics simulation is strong, meaning water, smoke, and fabric movement looks convincing. It's slightly slower than Kling but the quality trade-off is worth it for certain content.
Best for: Landscape and nature videos, architectural visualizations, cinematic establishing shots, anything requiring realistic physics.
Veo 3 (Google)
Google's Veo 3 produces the highest raw quality of any image-to-video model I've tested. The output is sharp, the motion is smooth, and it handles complex scenes well. The trade-off is speed: generation takes longer than competitors, and the model can be more opinionated about what motion to add.
Best for: High-quality hero content, portfolio pieces, anything where output quality matters more than speed.
Runway Gen-4
Runway has strong camera control capabilities. If you need specific cinematic camera movements (dolly, crane, orbit), Runway gives you more precise control than most alternatives. The generation quality is professional-grade, and the editing features let you refine clips further.
Best for: Professional video production, cinematic content, projects where camera movement precision is critical.
Image-to-Video Prompts That Actually Work
Here are real prompts I've tested across different types of images. Use these as templates and adapt them to your content.
Portrait / Person
Subject turns head slightly and smiles. Hair moves gently with a breeze. Soft bokeh background shifts. Slow push-in on the face.Landscape / Nature
Wind moves through the trees and grass. Water in the river flows naturally. Clouds drift across the sky. Slow aerial drone shot pulling back to reveal the full scene.Product Shot
Slow 360-degree orbit around the product. Soft studio lighting creates moving highlights on the surface. Shallow depth of field with bokeh background. Smooth, professional turntable rotation.AI-Generated Art / Illustration
Subtle parallax movement adds depth to the scene. Foreground elements shift slightly closer. Background layers drift. Atmospheric particles float through the air. Gentle lighting animation.Action / Dynamic Scene
Dramatic slow-motion movement. Subject lunges forward with explosive energy. Dust and particles fly. Camera tracks the action with slight shake for intensity. Dynamic lighting shifts.Free vs. Paid: What Can You Do Without Spending Money?
Good news: you can absolutely start with image-to-video AI for free. Most platforms offer free credits or tiers. Here's the reality:
- Flashloop's free tier gives you credits to generate videos with multiple models. Enough to test the workflow and produce a handful of clips.
- Kling offers daily free credits on their own platform, but output is watermarked and limited.
- PixVerse has a generous free tier with decent quality for basic use cases.
- Canva includes basic image-to-video in their free plan, but the AI models are older and less capable.
For serious content creation (daily social media posts, client work, product videos), you'll want a paid plan. The quality difference between free and paid tiers is significant, especially in resolution and motion smoothness.
Common Use Cases
Social Media Content
This is the biggest use case by far. Turn product photos into eye-catching video posts. Animate AI-generated art for TikTok and Reels. Create dynamic thumbnails and cover images. The viral AI trend videos (like Fruit Love Island and skeleton videos) all use image-to-video as a core part of their pipeline.
E-Commerce and Product Videos
Turn flat product photos into rotating 360-degree views or lifestyle videos. This is huge for small sellers who can't afford professional video shoots. Upload your product shot, add a turntable prompt, and you've got a video ad in under a minute.
Storytelling and Animation
Create animated stories from illustrated scenes. Generate character images, then animate each scene with image-to-video. This is exactly how the viral AI drama channels on TikTok work, producing full episodes with nothing but AI-generated images and video clips.
Real Estate and Architecture
Turn architectural renders or interior photos into walkthrough-style videos. Add subtle camera movement to property photos for more engaging listings. The parallax and push-in effects work particularly well for this.
Music and Art
Animate album artwork, create visual loops for live performances, or turn concept art into motion pieces. Musicians and visual artists are using image-to-video to bring their static work to life without learning motion graphics software.
Tips for Better Results
- Start with AI-generated images for best results. AI-generated images tend to work better as input because they already have the clean edges and clear compositions that models prefer.
- Match aspect ratio to your platform. 9:16 for TikTok/Reels/Shorts, 16:9 for YouTube, 1:1 for Instagram feed. Generate your source image in the right ratio from the start.
- Less is more with prompts. Don't ask for too many things to happen in a 5-second clip. Pick 2-3 motion elements and describe them clearly.
- Use motion control when available. Models like Kling offer motion brush/path tools that let you specify exactly where things should move. This gives you much more control than text prompts alone.
- Generate multiple takes. AI video generation has variance. Run the same prompt 3 times and pick the best result. The cost is minimal and the quality difference can be significant.
- Avoid text in your source images. Most image-to-video models struggle with text. Letters will warp, blur, or morph during animation. If you need text, add it in post-production.
FAQ
What is the best AI tool to convert images to video?
It depends on your use case. Flashloop gives you access to multiple models (Kling, Seedance, Wan, Veo) in one platform, so you can try different ones and pick the best result. For pure quality, Veo 3 leads. For speed and consistency, Kling 2.6 is hard to beat. For character motion, Seedance 1.5 Pro excels.
Can I turn a photo into a video for free?
Yes. Several platforms offer free credits for image-to-video generation, including Flashloop's free tier. The quality on free tiers is the same as paid. You just get fewer generations before needing to upgrade.
How long are AI-generated videos from images?
Most image-to-video models generate clips between 3-10 seconds. Some models like Kling support up to 10 seconds per generation. For longer videos, you generate multiple clips and stitch them together in a video editor. This is standard practice for AI video content creation.
What image resolution works best for AI video?
Aim for at least 1024x1024 pixels. Higher resolution gives the AI more detail to work with and produces sharper video output. Most models accept up to 2048px on the longest side. Avoid uploading tiny images (under 512px), as the output will look noticeably soft.
Does image-to-video AI work with any type of image?
It works with photos, illustrations, AI-generated images, screenshots, product shots, and more. The best results come from images with clear subjects, good lighting, and defined edges. Abstract or very busy images may produce unpredictable motion. Photographs and AI-generated images tend to work best.
What's the difference between image-to-video and text-to-video AI?
Text-to-video generates everything from a text description: the scene, composition, style, and motion. Image-to-video starts with your image and only adds motion. Image-to-video gives you much more control over the final result because you define exactly what the scene looks like before any animation happens. Most professional AI video workflows use image-to-video because of this control advantage.
New to AI video? Start with our beginner's guide to AI video generation for a broader overview of what's possible. Or check out our comparison of the best AI video generators in 2026 to see how different tools stack up.